Purpose
Due to some necessary changes to our infrastructure, our print server has migrated to a new location. Previously the university printers were located on ITS-Hood. They will now be found on ITS-Eastland. This change will require end-users to adjust the default printer.
Procedure
-
The first step is to open your Printers & Scanners settings window.

-
From the Printers & scanners window, complete the following steps:


-
-
Ensure this setting is set to the off position or that the box is unselected
-
After this setting has been changed, from the printers list, find the printer you intend to use most frequently and left-click once on that printer, then click on Manage. The new default print must be associated with ITS-Eastland.

-
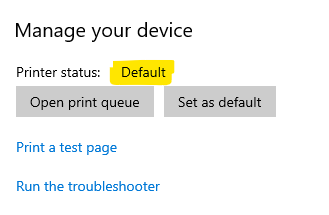
From the Manage your device window, click on the Set as default.

-
The printer should now be set as your default printer. Ensure it is listed as the default
If you use a Lanier Printer, here are the additional steps to add the code:
-
While still in the Printers & Scanners window, locate the Lanier printer/scanner/copier device icon associated with ITS-Eastland (i.e., ITS-Simba on ITS-Eastland).
-
Using the mouse, left-click Manage.

-
Next, select choose Printing preferences
-
Next, select the Detailed Settings tab
-
Next, select Job Setup
-
In Job Setup, locate a field labeled User Code.
-
In that field, type in your department’s user code (the same code used to login to Lanier device for scanning or copying documents).
