Glossary terms coming soon.
View Your Benefits
Change Your Benefits
Change Your Benefits for Life Event
New Hire Enrollment
View and Edit Dependents
Add a Beneficiary
Edit Beneficiaries
Update Beneficiary Information for Life Insurance Benefits
For additional help, please use the WorkdayHelp Ticket System.
-
After logging into Workday, click the Menu in the top navigation bar to access the global navigation.

-
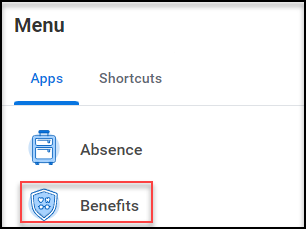
Click on the Benefits menu item.

-
Under View, choose the Benefit Elections button.
Note: In lieu of selecting the Benefits Elections button, you may choose Benefit Elections as of Date, to view your benefit elections as of the selected date of your choosing.

-
Review your Current Benefit Elections and Costs for accuracy.
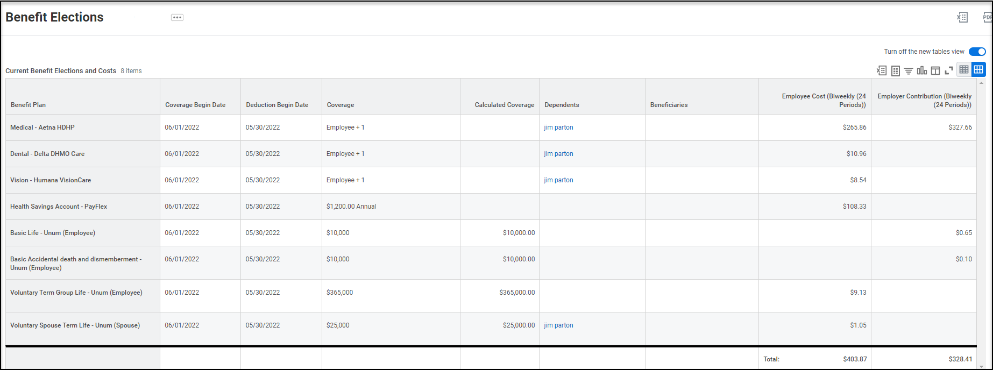
Note: You may not change your enrollments unless you have a qualifying event. Example: Marriage, Divorce, birth of a child or adoptions, Eligibility for Medicare/Medicaid, or other coverage such as spouse plan, Loss of coverage from another plan. For a full list of qualifying events, please refer to your Trinity Employee Benefit Guide.
-
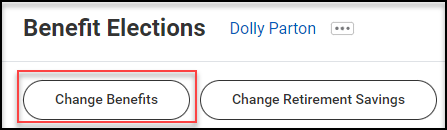
From this screen, you may select Change Benefits.
-
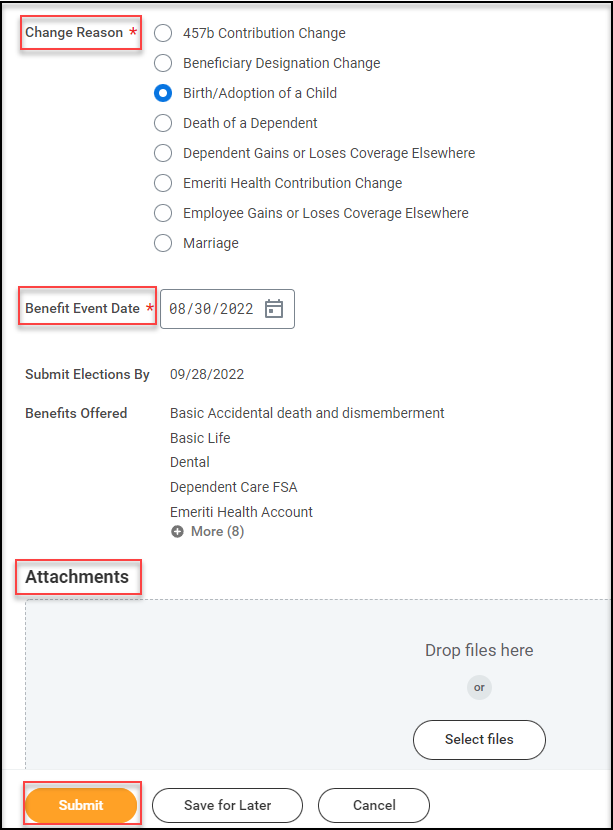
On the Change Benefits screen, first identify the Benefit Event Type (e.g., birth or adoption, change in marital status, etc.) and the Benefit Event Date. The Attachments box allows you to upload supporting documentation for this change.
-
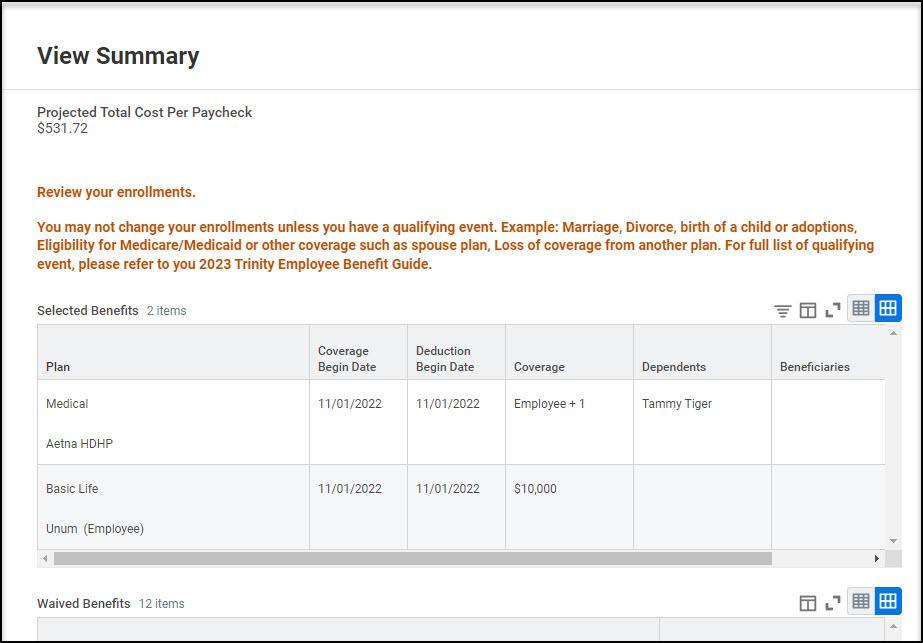
Review your enrollments on the View Summary screen.
-
Under Electronic Signature, click the checkbox next to “I Accept” to certify the information on the screen.

-
When finished, click the Submit button. Note: Changes to benefit elections will be reviewed before they are reflected in your current benefit elections.
Change Your Benefits for Life Event
Note: Some benefits can only be changed during the new employee onboarding process or during the Open Enrollment period. The process below is for reporting a life event that will affect your current benefits.
-
After logging into Workday, click the Menu in the top navigation bar to access the global navigation.

-
Click on the Benefits menu item.
-
The Benefits dashboard provides quick links to view and change your current benefits. At the bottom of the screen, you can see the Current Cost, or how much you pay for these benefits. Click the Benefits button under the Change heading to make changes to your current benefit elections.

-
On the Change Benefits screen, first identify the Benefit Event Type (e.g., birth or adoption, change in marital status, etc.) and the Benefit Event Date. The Attachments box allows you to upload supporting documentation for this change.

-
When you are finished, click the Submit button. This benefits change will need to be reviewed before it is reflected in your current benefit elections.
New Hire Enrollment
-
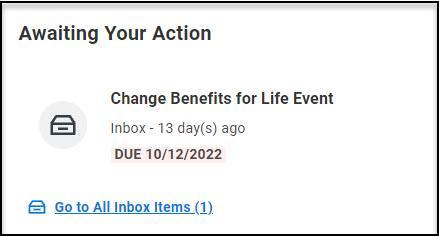
You will receive a task in your Workday inbox to enroll in your new hire benefits as part of the onboarding process. Log in to Workday and click on the task in your Inbox titled Change Benefits for Life Event.
-
Click the Let’s Get Started button to begin your enrollment.

-
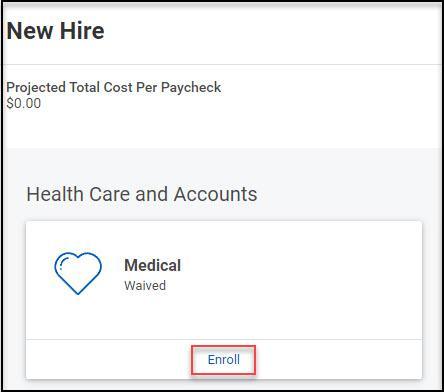
The New Hire screen will display all benefit plans for which you are eligible to enroll. Select Enroll to view the plan option(s) for each benefit.
Note: Each benefit type will say Waived because you haven’t enrolled in any benefits yet. You will need to click on Enroll for each type of benefit you want to enroll in. The example below is Medical.
-
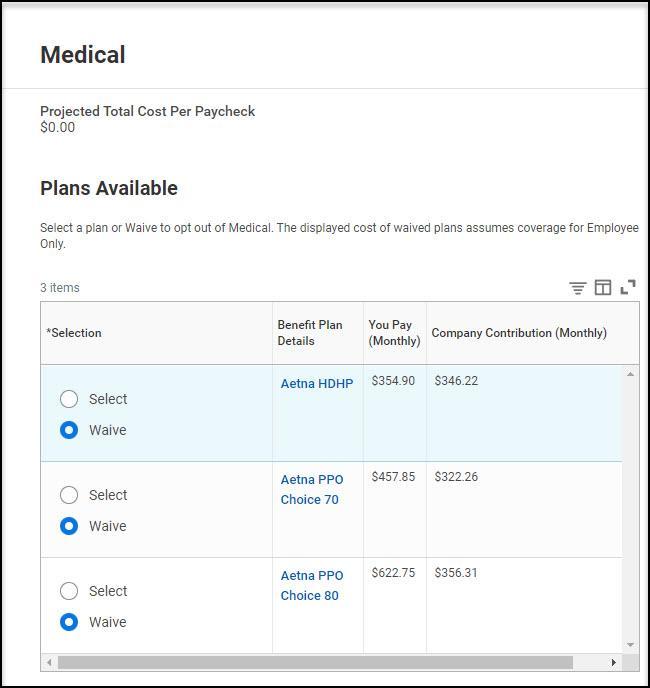
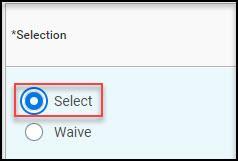
If there are multiple plans available for a benefit, use Select to choose the plan you want to enroll in and choose Waive for the plans you are not selecting. If there is only one plan option, you can Select that plan or choose to Waive the plan. The example below is Medical.
-
Once you have made a choice, click Confirm and Continue. If you are waiving the benefit entirely, you will return to the main screen to continue your enrollment. If you are electing the benefit, you’ll move to the next screen to add optional dependents.

-
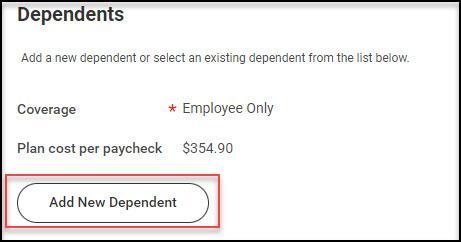
If you already have dependents in the system, you will see them listed in a grid. If all necessary dependents are already listed, simply toggle the Select checkbox to include or exclude dependents from this plan.
-
If you have dependents that are not listed on the screen, click the Add New Dependent button.
-
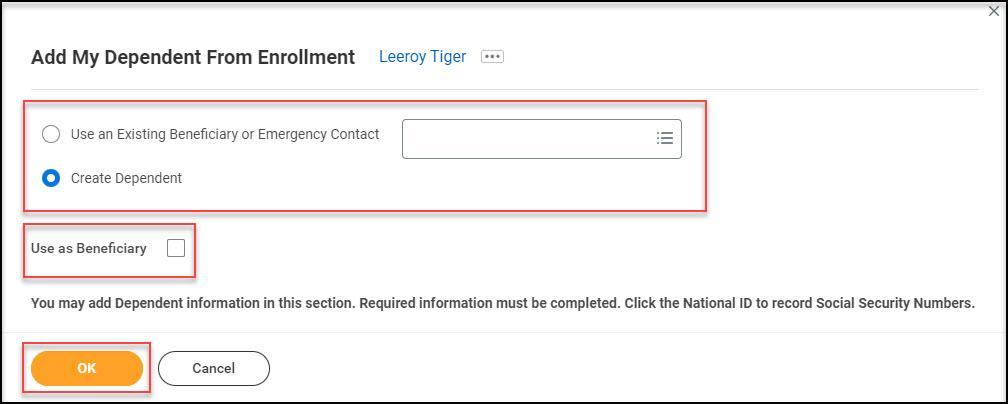
On the Add My Dependent from Enrollment screen, select Create Dependent to add dependent information for an individual not in the system or choose Use an Existing Beneficiary or Emergency Contact. Check the box to Use as Beneficiary, if applicable. Click OK.
-
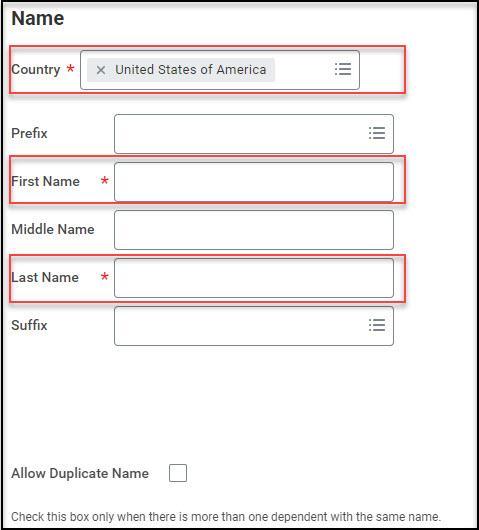
On the next screen, provide information about the dependent requested in the Name section. Fields with a red asterisk  are required.
-
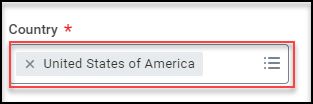
Country: This field is pre populated with United States of America. You may adjust, if applicable.
-
Prefix: This field is optional
-
First Name: Enter the first name of the dependent
-
Middle Name: This field is optional
-
Last Name: Enter the last name of the dependent
-
Suffix: This field is optional
-
Allow Duplicate Name: Check this box only when there is more than one dependent with the same name.
-
Provide information about the dependent requested in the Personal Information section. Fields with a red asterisk are required.

-
Relationship: Choose from the available options.
-
Date of birth: Enter the date of birth for the dependent by typing in the date or selecting a date from the calendar.
-
Age: This field is populated using the date of birth.
-
Gender: Choose from the available options.
-
Citizenship Status: You may choose from the available options. This field is optional
-
Full-time Student: Check this box if the dependent is a full-time student.
-
Disabled: Check this box if the dependent is disabled.
-
Under National IDs, click the Add button to enter at least one National ID whenever possible (such as a Social Security Number). Note: If you do not enter the Dependent Social Security Number, you will have an opportunity to add the SSN or Reason SSN is Not Available on a confirmation screen for the specified coverage.
-
Enter the correct Country from which the National ID was issued. You may type in the Country to search, select Frequently Used or search By Country Alphabetically. This field is required.

-
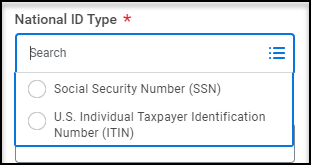
Select the appropriate National ID Type from the options provided. This field is required.
-
Add/Edit ID number.

-
Issued Date: Enter date when the National ID was issued. This field is optional.
-
Expiration Date: Enter date when the National ID expires, if applicable. This field is optional.
-
Provide information about the dependent requested in the Address section. Fields with a red asterisk are required.
-
Use Existing Address: This field is prepopulated with your existing address.

-
If the dependent’s address is different from your address, click the X next to the address to remove it. You will now be able to update the address fields with the correct address for the dependent. Fields with a red asterisk are required.

-
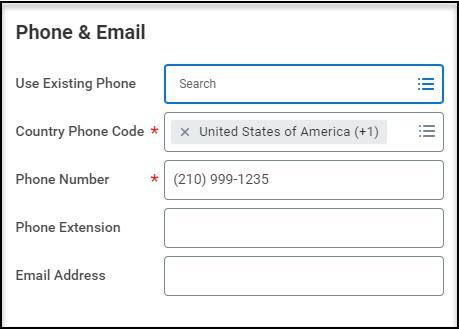
Provide information about the dependent requested in the Phone & Email section. Fields with a red asterisk are required.
-
Use Existing Phone: This field is prepopulated with your existing phone number.

-
If the dependent’s phone number is different, click the X next to the information in the “Use Existing Phone” field to remove the pre populated data. You will now be able to update the phone number with the correct information for the dependent. Fields with a red asterisk are required.
-
Click Save.
-
Back on the enrollment screen, the newly added dependent will be selected for the plan. If you wish to add additional dependents, you may repeat the above process by clicking the Add New Dependent button. Note: If any of your dependents are missing social security numbers, you will be required to enter this information before you can proceed. If your dependent does not have a social security number, please enter a Reason SSN is Not Available (e.g., dependent is a newborn) to proceed). You will need to enter the SSN later.
-
Click Save.

-
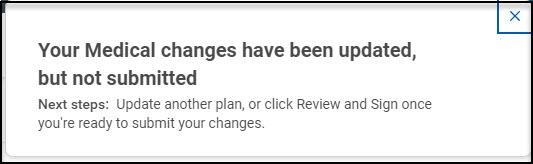
You will see a message pop-up that confirms that the changes have been updated, but not submitted.
-
Upon returning to the main benefits page, you may repeat this process for each available benefit plan you want to enroll in. Once you have finished electing benefits, click Review and Sign. You may select Save for Later to finish enrollment later.

-
You will return to the View Summary screen to review the benefits you have chosen. On the View Summary screen, review your benefit elections and confirm everything is correct. If you need to make changes, click Cancel to return to the main benefits page and make any updates.
-
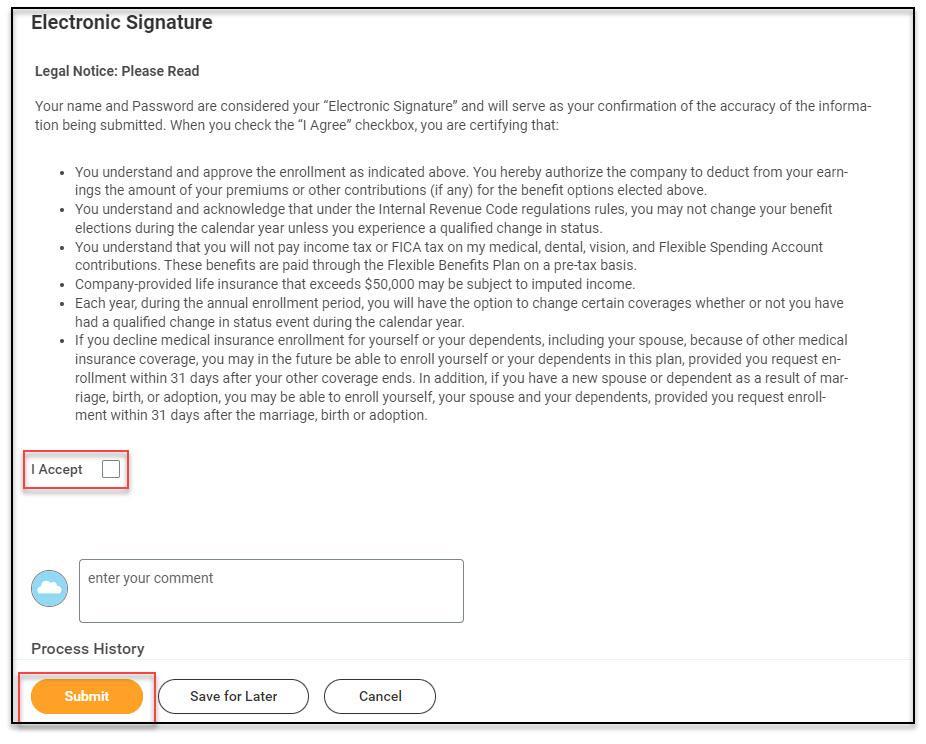
If the information is correct, scroll to the bottom of the screen. Review the full legal notice in the Electronic Signature area, check the I Accept box, and click Submit.
-
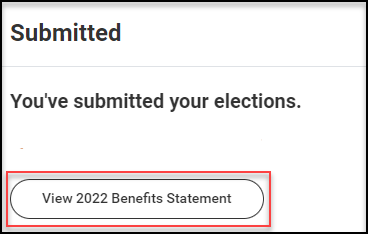
You will see a confirmation message stating that you have submitted your elections. Click on the button to view your benefits statement.

Explanatory Video
This video walks through the employee self service actions related to Benefits including: Add Dependents, Add a Beneficiary, Edit Beneficiaries and Update Beneficiary Information for Life Insurance Benefits. These options along with other benefits related tasks and reports are available from the Benefits app.
-
After logging into Workday, click the Menu in the top navigation bar to access the global navigation.

-
Click on the Benefits menu item.

-
Under Change, choose the Dependents button.

-
Select the Add button to add a new dependent.
 |
|
-
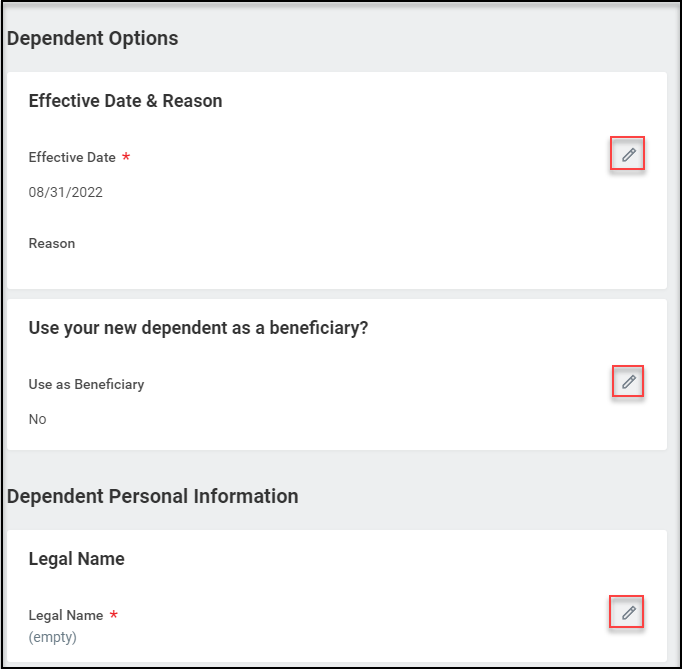
On the Add My Dependent screen, select the Edit icon or select the field to modify. Asterisks denote required fields. Click the check mark to save information.
-
Select the Add button to add new information under each section such as Contact Information and Identifier Information.
-
Under Identifier Information, click Add under National IDs.

-
Enter the correct Country from which the National ID was issued. You may type in the Country to search, select Frequently Used or search By Country Alphabetically. This field is required.
-
Select the appropriate National ID Type from the options provided. This field is required.

-
Add/Edit ID number.

-
Add additional Details, as needed.

-
Select Submit to complete the process.
Explanatory Video
This video walks through the employee self service actions related to Benefits including: Add Dependents, Add a Beneficiary, Edit Beneficiaries and Update Beneficiary Information for Life Insurance Benefits. These options along with other benefits related tasks and reports are available from the Benefits app.
-
After logging into Workday, click the Menu in the top navigation bar to access the global navigation.

-
Click on the Benefits menu item.

-
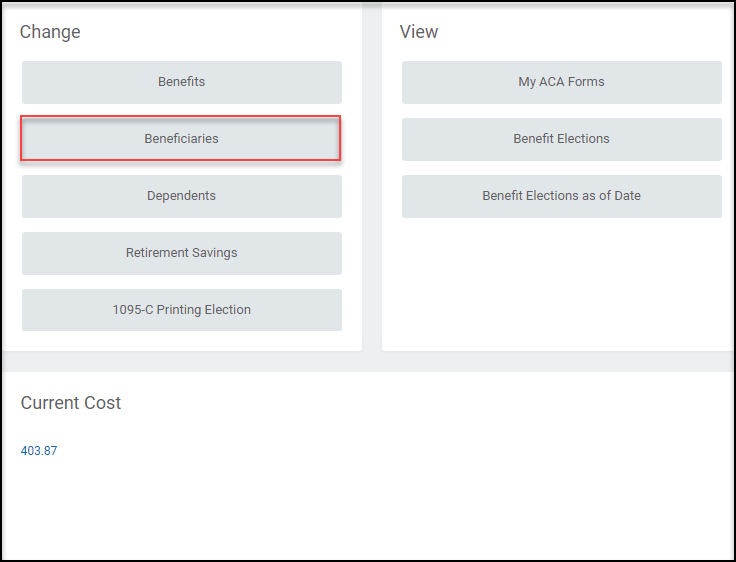
The Benefits dashboard provides quick links to access your benefits information. Under the Change heading, click Beneficiaries.
-
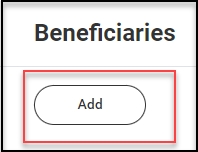
From this screen, you may Add a new beneficiary/trust.
-
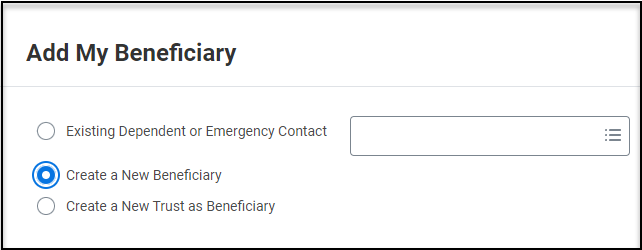
Select the appropriate option to Create a New Beneficiary or Create a New Trust as Beneficiary. If the person you wish to add as a beneficiary is already in Workday as an existing dependent or emergency contact in your account, select the option Existing Dependent or Emergency Contact and choose from the list of available names.
-
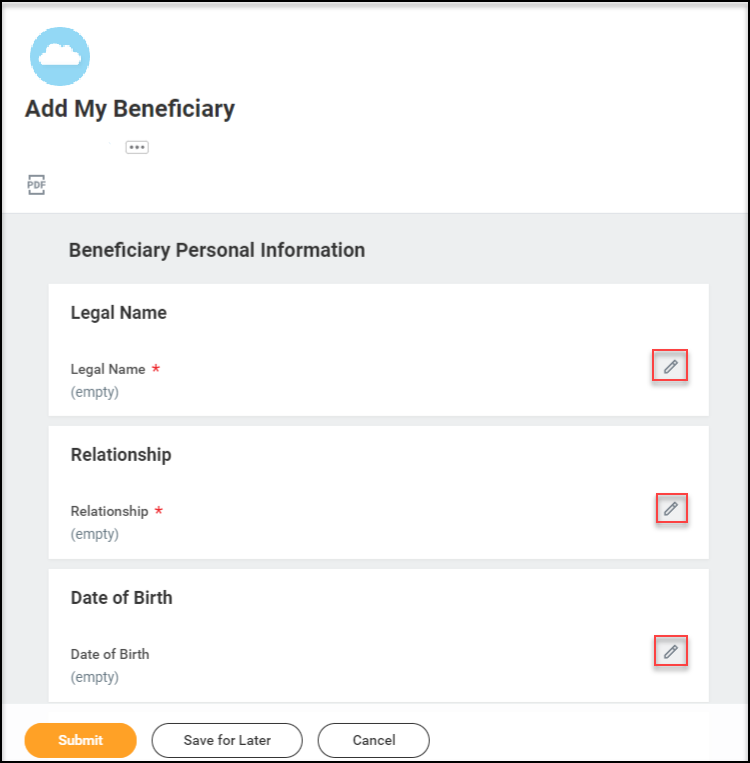
Use the pencil icon in each section to add information about your beneficiary or trust. All fields with a red asterisk are required. When you finish editing a particular section, click the checkmark icon.
Note: You are required to enter a phone number or email address for any beneficiary.
-
When you have completed entering in the necessary information, click Submit.
Note: You have now created the beneficiary. Please follow the steps in the next section of this QRG to add the beneficiary to your life insurance benefits.
Explanatory Video
This video walks through the employee self service actions related to Benefits including: Add Dependents, Add a Beneficiary, Edit Beneficiaries and Update Beneficiary Information for Life Insurance Benefits. These options along with other benefits related tasks and reports are available from the Benefits app.
-
Click the Menu in the top navigation bar to access the global navigation.
-
Click on the Benefits menu item.
-
The Benefits dashboard provides quick links to access your benefits information. Under the Change heading, click Beneficiaries.
-
From this screen, you Edit an existing beneficiary’s or trust’s information.

-
To edit information about an existing beneficiary/trust, click the Edit button next to their name.
-
Your beneficiary’s Personal and Contact Information will appear on the next screen. To edit any information, click the pencil icon in the section you wish to change.
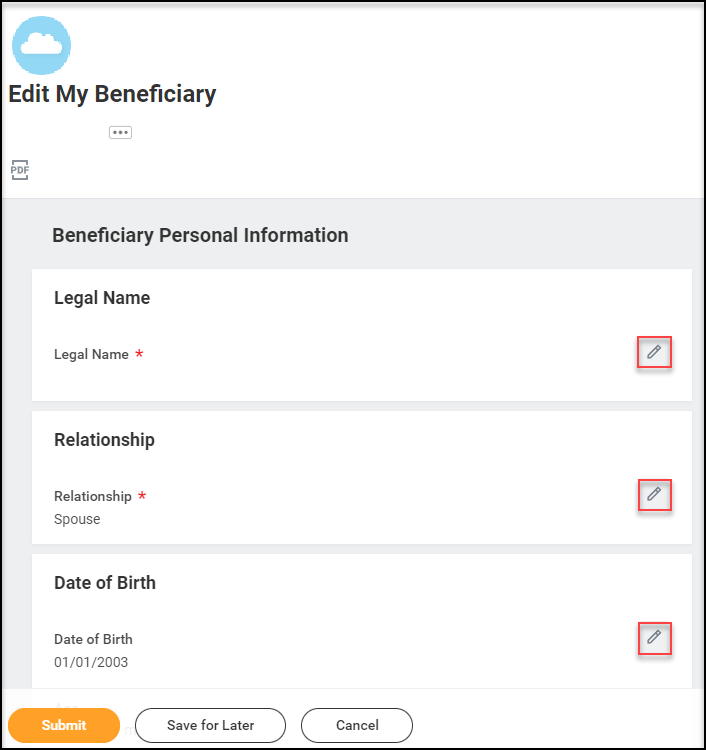
-
When you have finished editing information in a particular section, click the checkmark icon to save it.

-
Once you have finished adding or changing the information in all relevant sections of this screen, click the Submit button.
If you have any questions, please contact your benefits administrator.
Explanatory Video
This video walks through the employee self service actions related to Benefits including: Add Dependents, Add a Beneficiary, Edit Beneficiaries and Update Beneficiary Information for Life Insurance Benefits. These options along with other benefits related tasks and reports are available from the Benefits app.
-
Click the Menu in the top navigation bar to access the global navigation.
-
Click on the Benefits menu item.
-
The Benefits dashboard provides quick links to view and change your current benefits. At the bottom of the screen, you can see the Current Cost, or the how much you pay for these benefits. Click the Benefits button under the Change heading to update your current benefit elections.
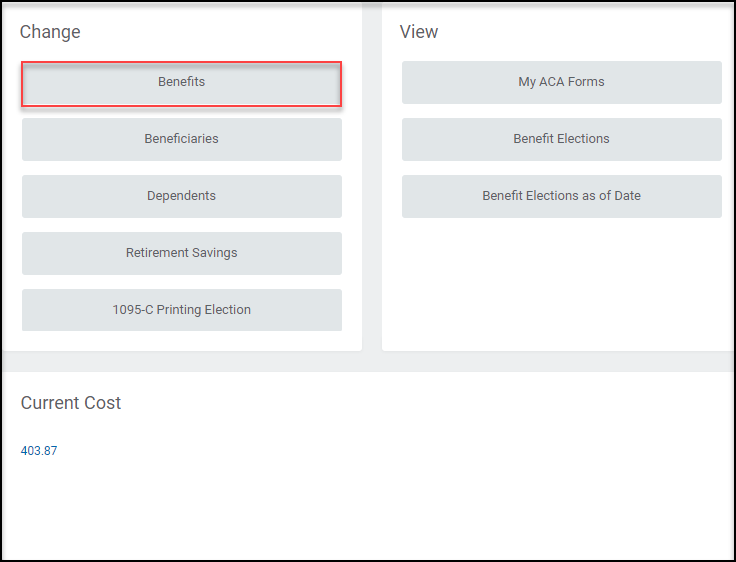
-
In the Change Reason field, select Beneficiary Designation Change and enter an appropriate Benefit Event Date. (This date field is required and can be the date you want your beneficiary changes to be effective.)
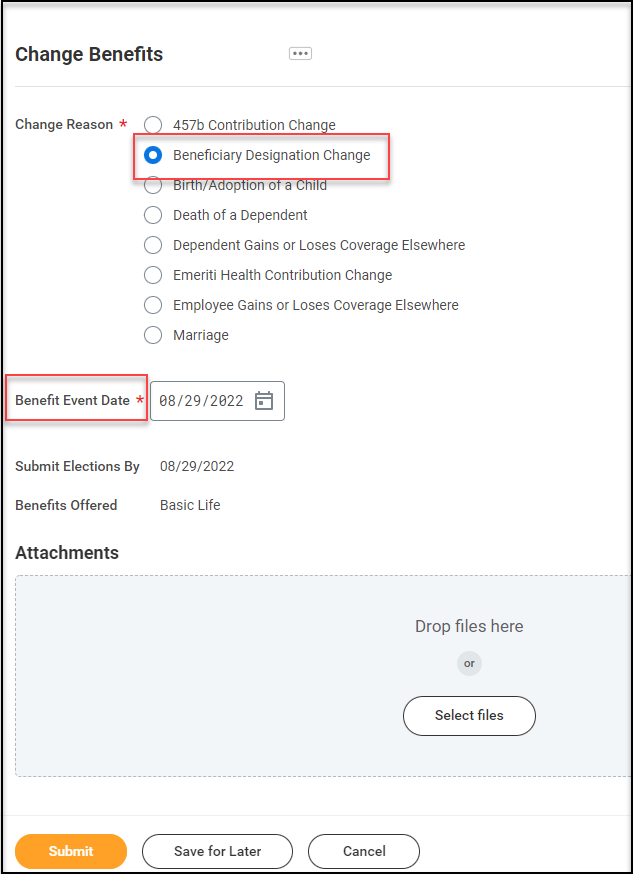
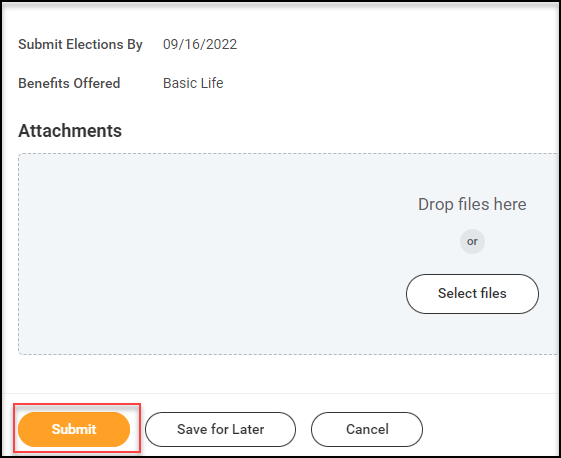
-
After entering a date, the system will populate a date to Submit Elections by and a list of Benefits Offered. Review this information before continuing. If you do not wish to complete this now, you can click Save for Later; the task will appear in your Workday inbox for completion at another time. To submit the request now, click Submit.
-
In your inbox, locate the Change Beneficiaries task and click Let’s Get Started.

-
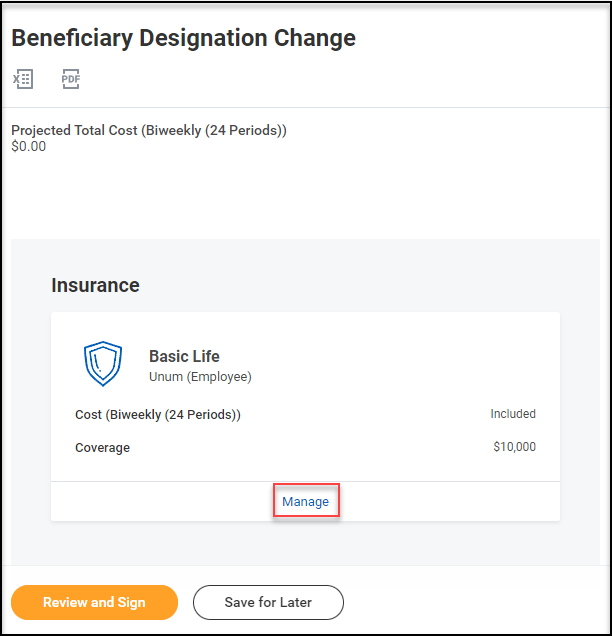
On the next screen, you will see the life insurance benefits that are eligible for beneficiary updates. Click the Manage link for any plan you want to update.
-
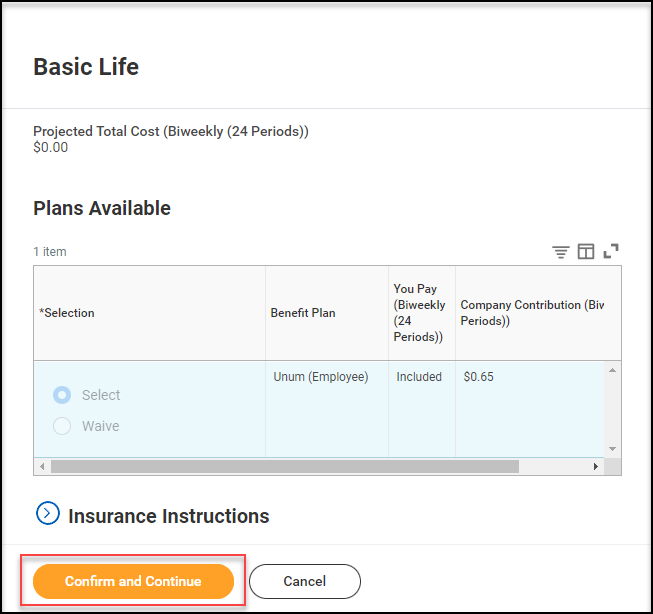
The next screen will display your current benefit election. Some plans will be grayed out since this life event only allows you to update your beneficiaries. Click Confirm and Continue to add your beneficiary information.
-
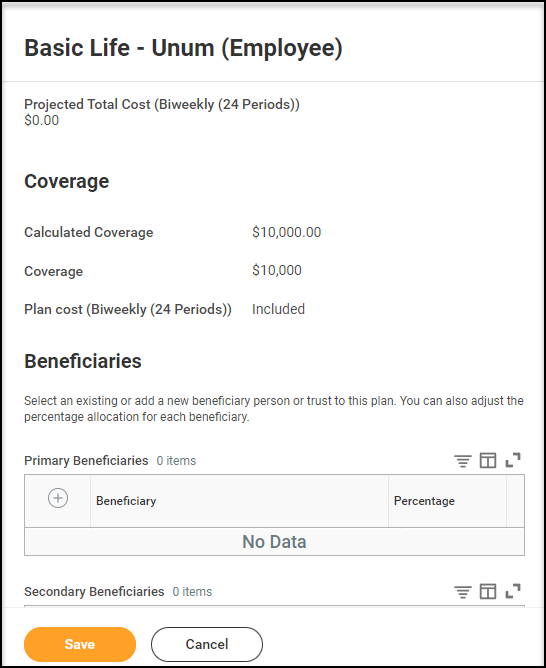
The next screen is where existing beneficiaries are listed. Note, there are no existing beneficiaries pulled into Trinity University Workday accounts therefore “No Data” will display instead.
-
Click into the field and select your beneficiary (you can also add a new beneficiary directly from this field if your beneficiary does not already exist under Existing Beneficiary Persons or Existing Trusts).

-
Adjust the Percentage field as needed.
-
When finished, click Save. You will see a confirmation notice that your changes have been updated, but not submitted.

-
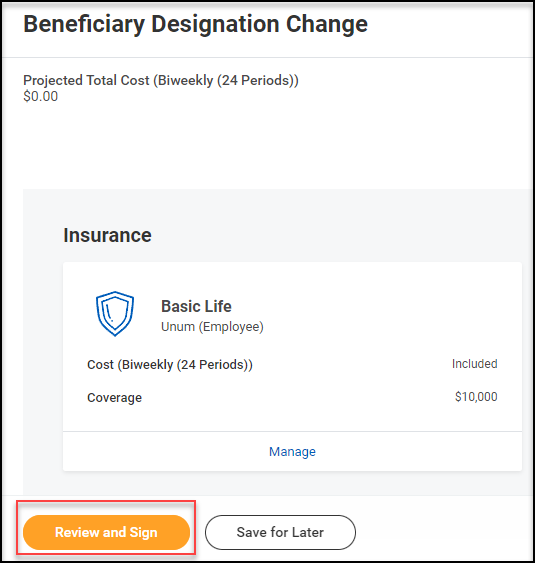
You will return to the main Beneficiary Designation Change screen.
-
Click on any other benefit you are enrolled in and update the beneficiary information in the same manner.
-
Once you have made all the necessary beneficiary changes, click Review and Sign.
-
Review the information on this screen and make sure your beneficiary changes are correct. If anything is incorrect, click Cancel to return to the beneficiary screen to make updates.
-
If your changes are accurate, scroll to the bottom of the screen, review the Electronic Signature, check the I Accept box, and click Submit.

-
Your changes will be reflected in your Workday benefits profile. You may click on the link to View Benefits Statement if desired.
There are currently no forms for these topics.
For additional help, please use the Workday Support Request Form or send an email to transform@trinity.edu.